Installing tile flooring or walls can be a fantastic way to enhance the beauty and durability of your space. However, proper installation is crucial to achieving a professional and long-lasting finish. Whether you’re a DIY enthusiast or hiring a professional, understanding the right techniques can make all the difference. The experts at Tech Tile have put together this ultimate guide to help you navigate the tile installation process with confidence.
Tile Installation Tips from the Experts at Tech Tile
1. Planning and Preparation
Before you even pick up a tile, proper planning is essential. Rushing into the project without preparation can lead to costly mistakes. Here’s what you need to consider:
Choosing the Right Tiles for Your Space
Different tiles serve different purposes. Porcelain and ceramic tiles are great for indoor floors and walls, while natural stone tiles like marble or slate require more maintenance but offer a unique aesthetic. Consider the room’s moisture level, foot traffic, and design preferences when selecting tiles.
Gathering the Right Tools and Materials
To ensure a smooth installation process, make sure you have the following tools:
- Tile cutter or wet saw
- Tile spacers
- Notched trowel
- Grout float
- Level
- Chalk line
- Measuring tape
- Tile adhesive or thin-set mortar
- Grout and sealant
Having all your materials ready before you start will prevent unnecessary delays.
Measuring and Layout Planning
Proper measurements help avoid running out of tiles or ending up with awkward cuts. Use a measuring tape and chalk lines to outline your design before applying adhesive. Dry-lay the tiles to see how they fit, ensuring you don’t end up with tiny tile slivers along the edges.
2. Preparing the Surface
A well-prepared surface is key to ensuring tiles adhere correctly and last for years. Here’s how to get started:
Cleaning and Leveling the Subfloor
Tiles require a flat and clean surface. If you’re working with concrete, make sure it’s level and free of cracks. For wooden subfloors, ensure they are stable and reinforced with a cement backer board to prevent movement and cracking.
Applying Waterproofing (If Necessary)
In moisture-prone areas like bathrooms and kitchens, applying a waterproofing membrane helps prevent water damage over time. This is especially important for natural stone tiles, which can absorb moisture.
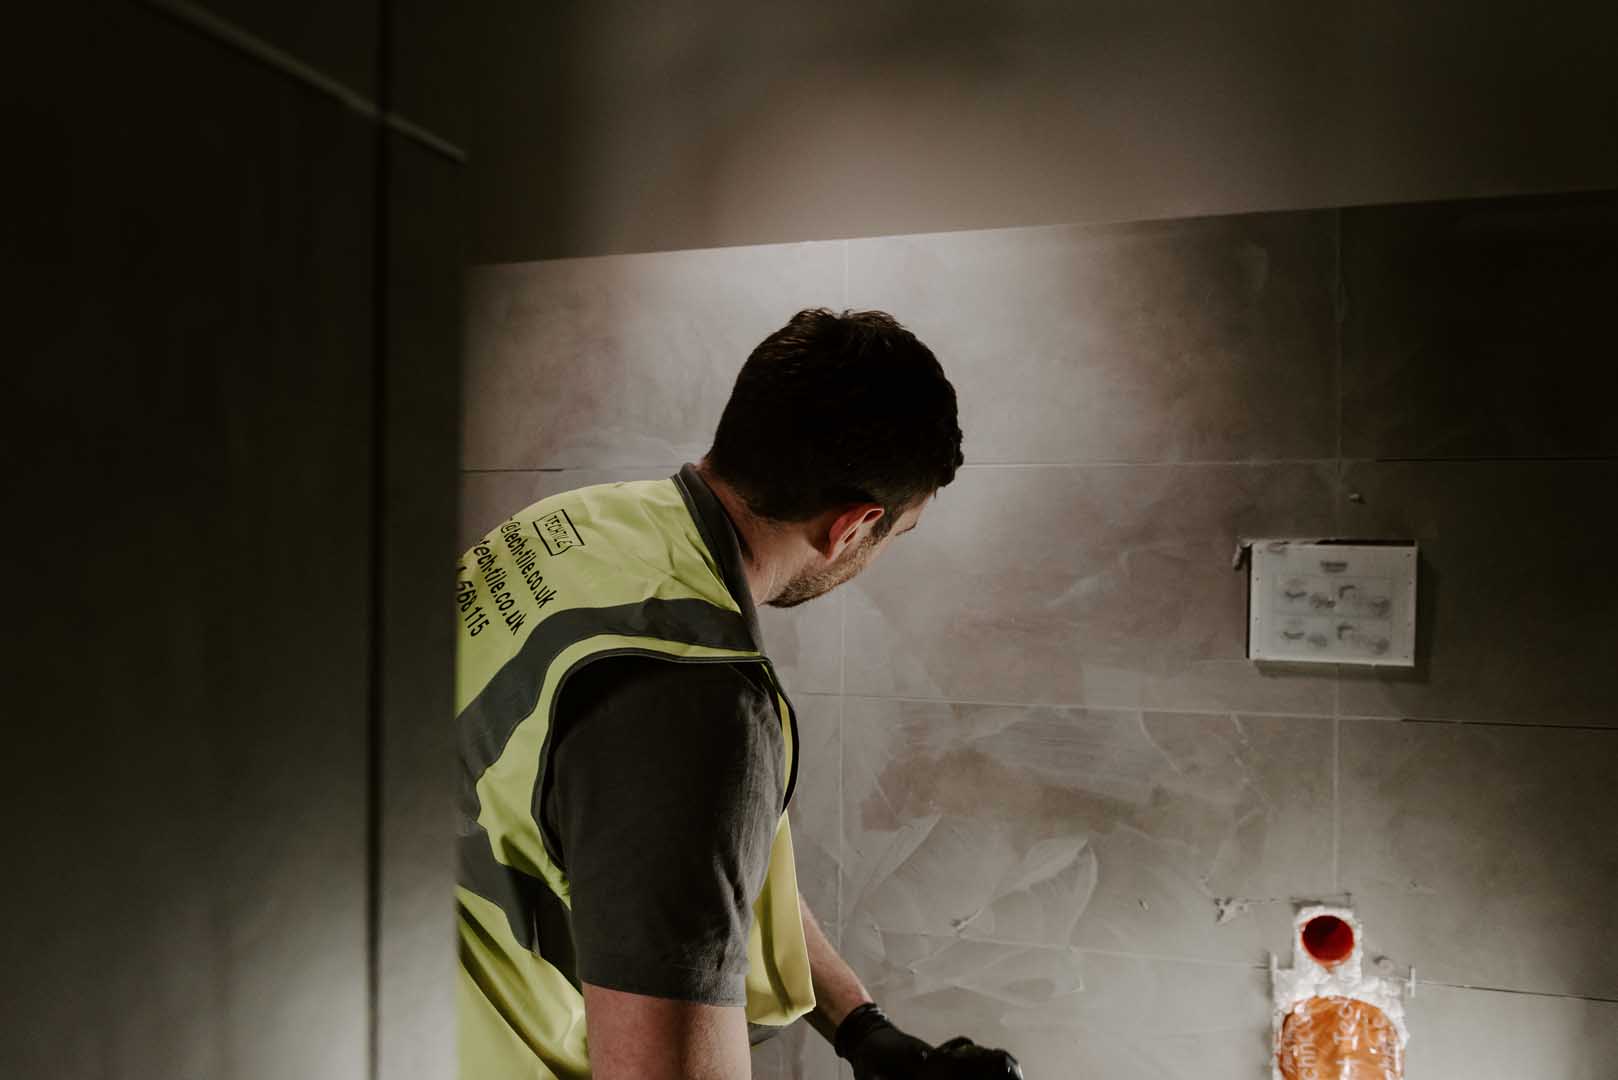
3. Installing the Tiles
Now comes the most exciting part—laying the tiles!
Mixing and Applying Tile Adhesive
Use a thin-set mortar or tile adhesive suitable for your tile type. Apply it with a notched trowel, ensuring an even coat. Work in small sections to prevent the adhesive from drying before you lay the tiles.
Placing the Tiles Correctly
Start from the center of the room and work outward. Place tiles firmly into the adhesive, using spacers to maintain even grout lines. Check periodically with a level to ensure the surface remains flat.
Cutting Tiles for Edges and Corners
Use a tile cutter or wet saw for precise cuts along the edges. When cutting, always measure twice to avoid waste.
4. Grouting and Finishing Touches
After your tiles are firmly set (typically after 24 hours), it’s time to apply grout.
Choosing the Right Grout
Grout comes in different types:
- Sanded grout: Best for wider joints (over 1/8 inch) and provides added strength.
- Unsanded grout: Ideal for smaller joints and delicate tiles like glass or polished stone.
Applying and Cleaning Grout
Use a rubber float to press grout into the joints, holding it at a 45-degree angle. Wipe away excess grout with a damp sponge before it fully dries. Once the grout has cured, apply a sealant to protect it from stains and moisture.
Final Cleaning and Sealing
Once everything is dry, do a final cleaning to remove grout haze. If you installed natural stone tiles, apply a sealant to enhance durability.
5. Common Mistakes to Avoid
Even experienced installers make mistakes, but here’s how to avoid the most common ones:
- Not levelling the surface: Uneven floors lead to lippage, making tiles look misaligned.
- Skipping tile spacers: This results in uneven grout lines, affecting the final look.
- Using the wrong adhesive: Always use adhesive suited for your tile type and surface.
- Grouting too soon: Allow tiles to fully set before applying grout to prevent shifting.
- Not sealing grout: Unsealed grout can absorb stains and moisture, leading to damage over time.
Installing tiles can be a rewarding project when done correctly. With careful planning, the right materials, and expert techniques, you can achieve a stunning and durable finish. Whether you’re tiling a bathroom, kitchen, or outdoor space, following these expert tips from Tech Tile will ensure a professional-looking result.
Looking for high-quality tiles and installation materials? Visit Tech Tile or expert advice and premium tile solutions to bring your vision to life! and enjoy the beauty and durability that our tiles bring to your home.
Tech Tile has you covered, you can find out more information on floor and wall tiling here and kitchen and bathroom tiles here.
Need expert guidance? Contact Tech Tile today to find the best tiles for your home!